JOE GIBBS POLITZ

This work is licensed under a Creative Commons Attribution-NonCommercial-ShareAlike 4.0 International License. Linked resources may have their own licenses, refer to them for details.
This work is licensed under a Creative Commons Attribution-NonCommercial-ShareAlike 4.0 International License. Linked resources may have their own licenses, refer to them for details.
Writing in Class
In many of my lectures, I draw onscreen alongside code, slides, and more. Sometimes folks ask me about what I use, so this post summarizes and reviews the different tools I’ve tried.
Update April 2020 – Added notes about Quicktime Video recording which has become a new favorite, thanks Ranjit Jhala.
I’ve used two different writing surfaces:
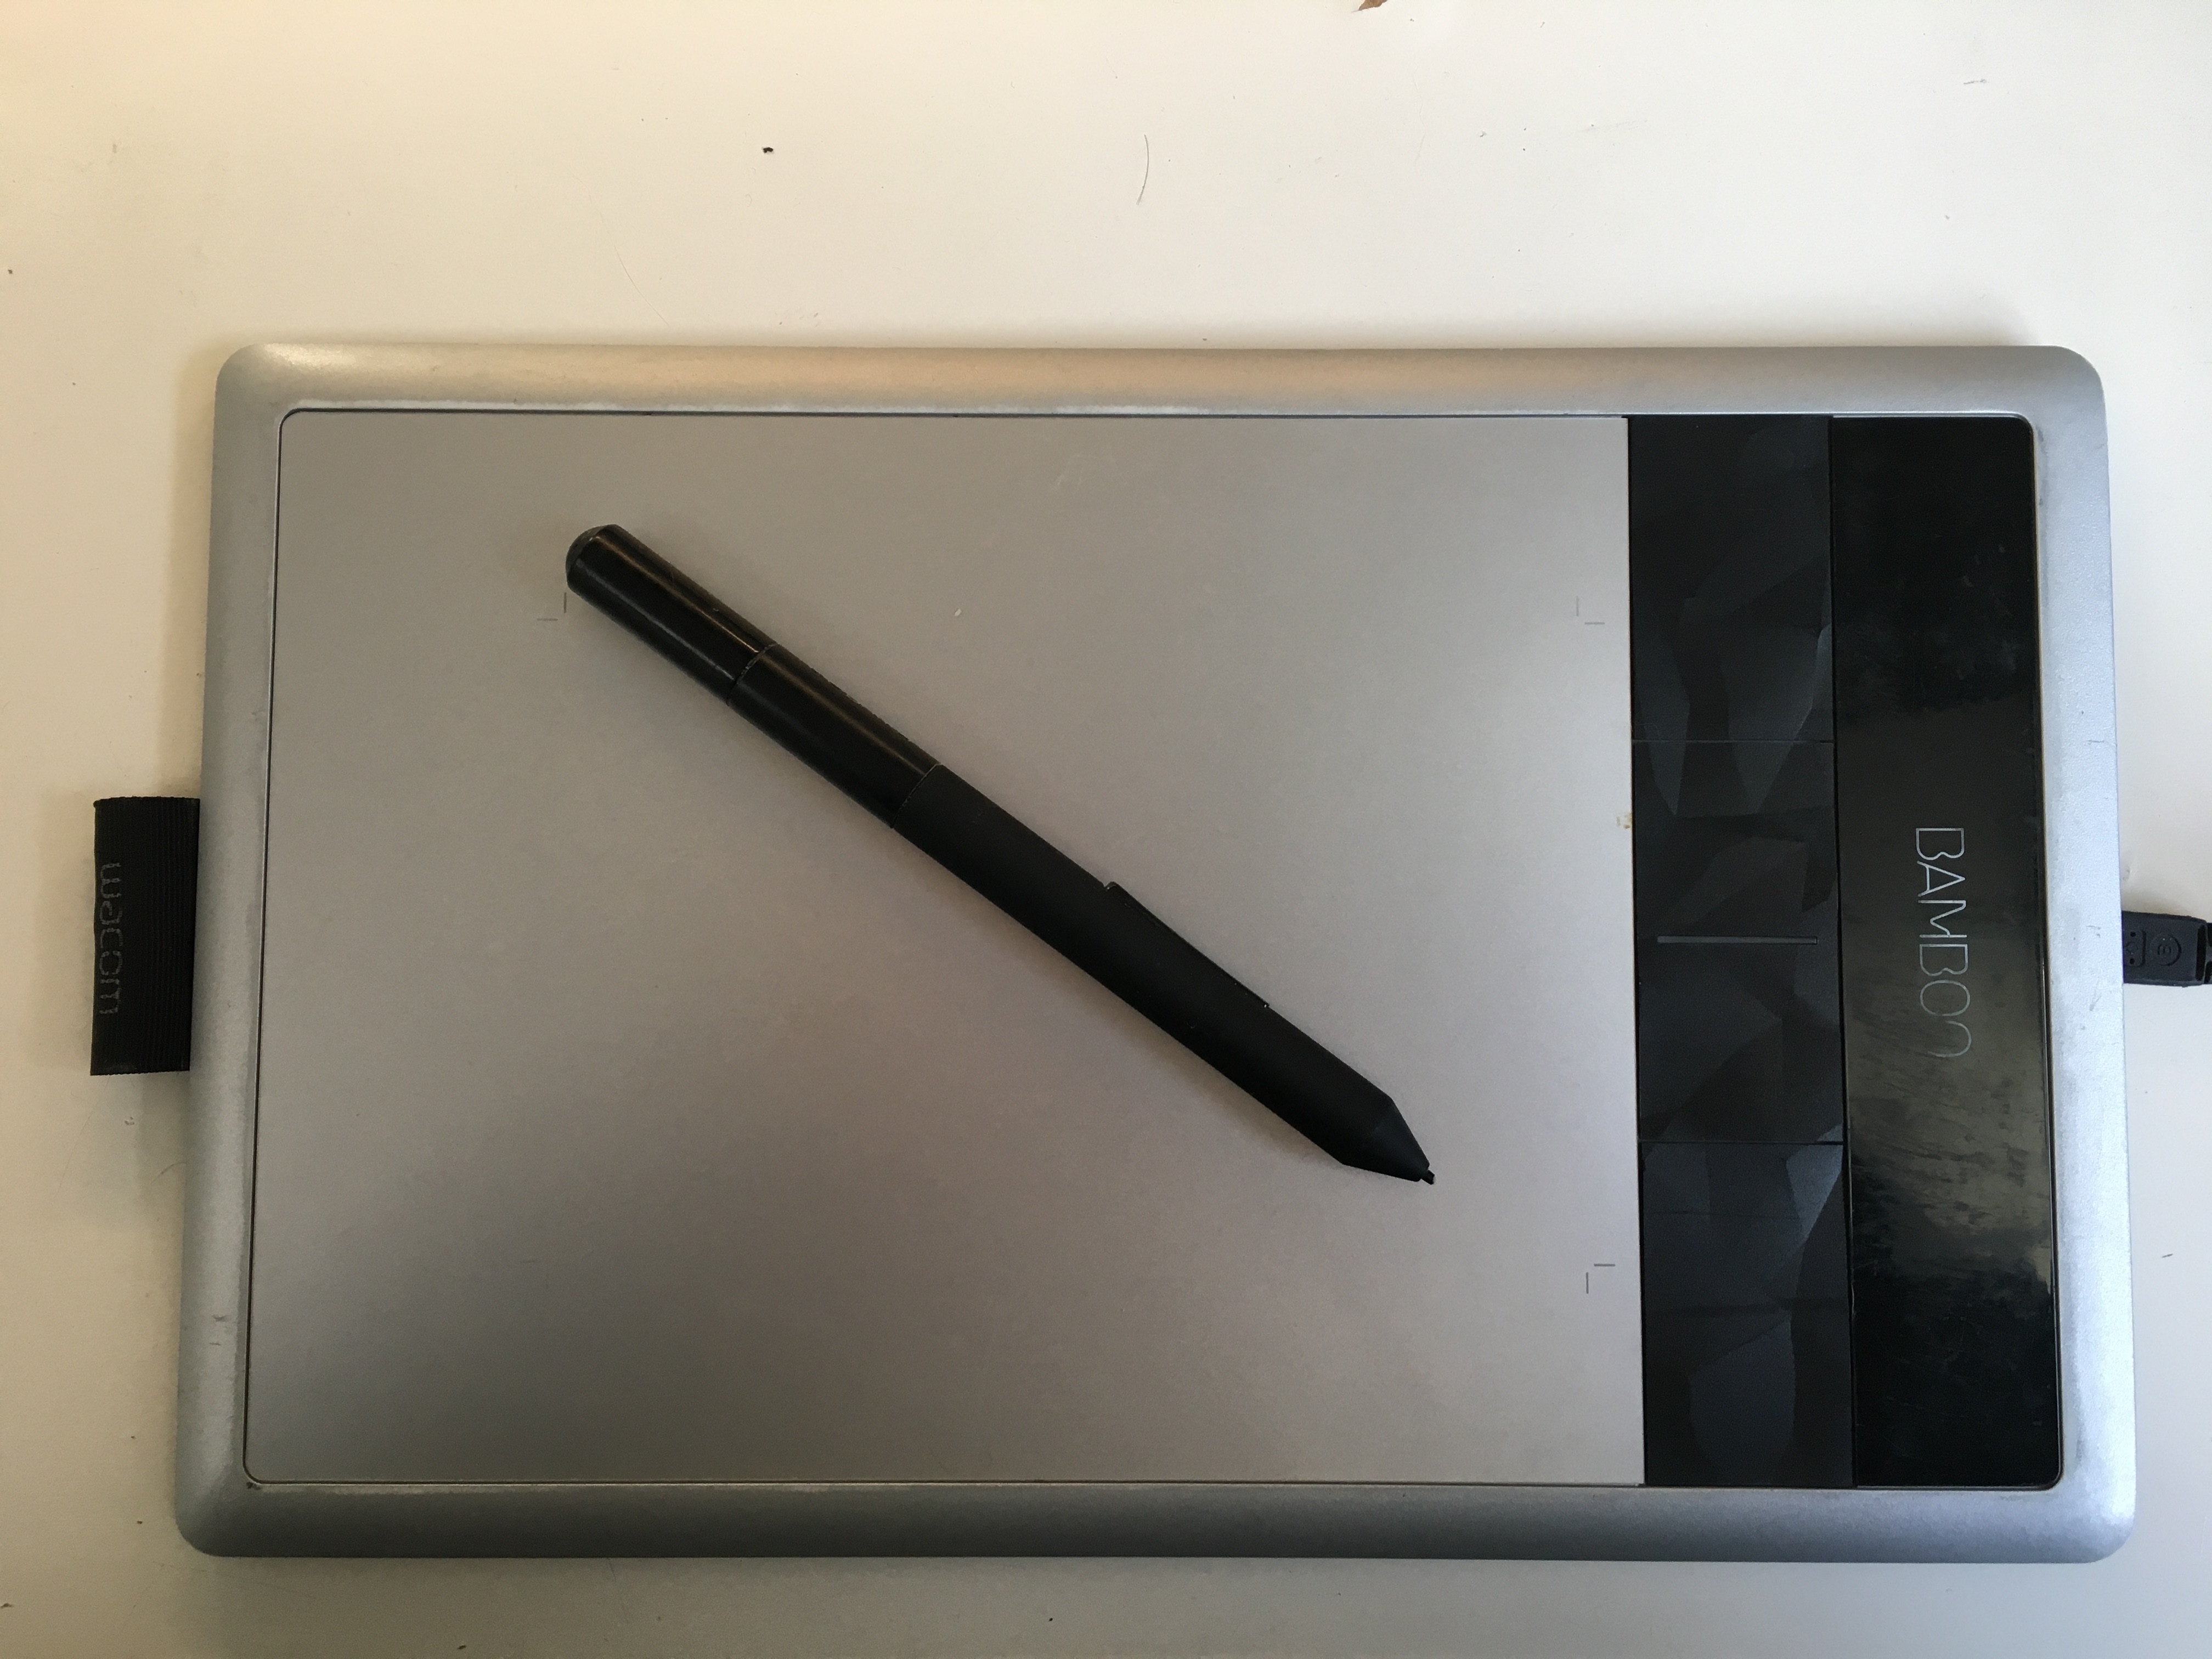
This is a USB-connected writing surface that gives pen input. I’ve used it on OSX and on Ubuntu and both support it reasonably. On OSX I had to repeatedly install the driver for it for some reason, but it was easy to find on the Wacom web site.
One really nice feature of the pen is the multi-click button, which some pen-based input editors support. Your thumb rests naturally on it when you’re holding the pen, and it lets you select between three modes (e.g. eraser, lasso select, writing) without having to click on a menu item.
It sometimes required a little work to calibrate exactly where the mapping between the screen and the tablet was, especially when plugging it into a projector and undergoing a resolution change. Typically it was best to just plug the USB in after connecting to a projector to let it figure out the screen ratios.
The main downside is that you need to develop some hand-eye coordination in mapping the pen to the screen, since the tablet itself is just a gray slate. The pen input recognizes hovering and renders a cursor, but you need to learn to track that movement on the screen while your hand moves around on the slate.
The pen itself has a pretty pleasant writing experience on the slate – it feels “scratchy” and has similar resistance to writing on paper.
I used this tablet for about 2 years and it held up really well.
In 2017, I got an iPad pro 10.5” and started using that, with an Apple Pencil, for drawing in class. The main contrasts are:
Update April 2020 Ranjit Jhala pointed out to me that Quicktime has a neat way to support screen mirroring from iPad to OSX – Quicktime! You can open it up and select “New Video Recording” and then select your cord-connected iPad. You don’t need to start the recording, just use the preview window it gives you. This allows you to use the iOS Notability app, which in many ways is nicer than its desktop version. You can still copy-paste from OSX into Notability – just long-press with the Pencil to paste. This looks really good and seems to perform extremely well. While Astropad (below) would start to slow down forwarding pen strokes to Desktop Notability when recording with OBS or screencasting in Zoom, this stays sprightly, probably because it’s relying more on the iPad’s processing power to draw.
I’m including Astropad here because you can’t out-of-the-box use an iPad and a Pencil to write on your OSX screen in any reasonable way that I could find. Astropad is a pen-input screen-mirroring tool for OSX and iOS. You install the app on your laptop and on your iPad, connect them, and the iPad becomes a mirrored screen with intelligent touch input. So far, Astropad has completely gotten out of the way and done what I have hoped, which is forward my Pencil strokes to my laptop smoothly.
Xournal is a great piece of software for pen input on X. It was awesomely configurable with the Wacom multi-button options, generates nice PDFs of what’s drawn, and has all kinds of nice touches:
I really liked Xournal. I used it for a year or so when I still used Ubuntu as my primary operating system. I stopped using it when I switched to OSX, because the pen input was really janky through XQuartz and I never found a good way to run it in that context. Highly recommended as an option on Linux. Free (in both senses of the word).
Write by Stylus Labs was the first tool I tried in earnest on OSX after giving up on configuring Xournal.
Cool stuff:
There was some jank:
Free as in beer, not open source that I could find, and not sure if it’s under active development anymore.
Notability is a polished, non-free OSX app that I’ve been using for several quarters.
The main annoyance of the interface is that if you click on the color-selector palette to turn it on and off, it simply removes that chunk of the window space (resizing the window), instead of using that space for more writing area. This seems like the wrong choice to me and occasionally means I do a manual window resize, but is overall pretty minor.
One amazingly cool feature of using a tablet and a screen-based writing surface is that you can do things like copy/paste, undo, select-and-move, and other whiteboard impossibilities. This is great, but it’s important to remember that students don’t have these abilities in their paper notebooks. When lecturing, I need to take care to note when I expect something to be student-writable, vs. when I’m using the drawing power to make a point that students don’t need to note down.
Examples:
Scrolling is jarring for folks in the audience. It’s pretty important to plan out the layout of writing before a lecture to avoid scrolling too much. In contrast to full-room whiteboards, a screen has relatively less real estate to track past things that were written. So make sure anything you want students to be able to copy doesn’t get scrolled away too quickly, and avoid scrolling the page too often, which can shatter students’ visual context.
One really nice thing you can do ahead of time is set up templates of time-consuming parts of drawings, and put them in the flow of the document. For example, drawing out a grid for the stack and heap can be difficult to do by hand and take up unnecessary lecture time. Import a PDF or take screenshots of the blank grid beforehand and use that to write on in class (and consider handing out hard copies of the templates to students, as well!)
You can also write out the text form of questions you want to ask in typed prose, so that you don’t have to hand-write questions and students don’t have to just rely on hearing exactly what you asked aloud. Pre-seed the document with peer instruction questions or discussion questions you want to ask, and scroll to them or drag them onto the screen when you’re ready to ask them.